DIY Mesh Grille
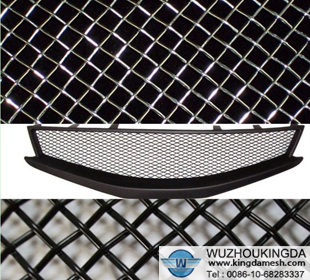
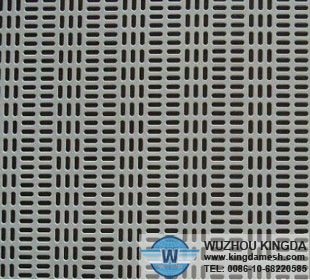
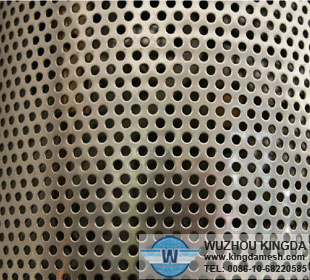
Whether you have a vintage Chevy or a late model Jaguar, a mesh grille can give your car a whole new look. You can have the job done at a custom car shop or just do it yourself as a weekend project. Mesh grille materials are widely available in aluminum, chrome and stainless steel. The metal mesh sheets also come in a variety of styles, including woven or perforated, or shapes like diamond, hexagonal and oval. Replacement or installation usually involves some amount of measurement, cutting and removal of existing plastic plates and grille covers.
Instructions
1
Measure the external portion of the existing grille cover from end to end. Run the tape measure across the top of the grille cover to form a straight line instead of measuring the curve of the cover. Measure the vertical distance of the grille area as well. Most grille meshes come in set sizing such as 12 inches by 36 inches, so choose a size slightly larger than your measurements in case of cutting errors.
2
Choose a particular design of mesh that suits your taste for the vehicle you want to modify. Look at auto supply stores in your local area or shop online at outlets such as Custom Grills to see the variety of mesh styles.
3
Open the hood of your vehicle in order to access the bolts that hold the grille cover on. Use a wrench to remove nuts and bolts and place the cover and hardware aside.
4
Slip the plastic cover off the hinges and place it on a flat surface. Place the mesh material on top of the plastic cover and mark the outline. Include outlines for bolt holes. Put on thick protective gloves and protective eye wear. Use an appropriate set of wire cutters to cut along the border of the mesh. Discard any unused mesh.
5
Hammer down sharp wire mesh edges using a rubber mallet. Take care not to damage or dent the flat portion of the mesh.
6
Install the new mesh grille onto the inside frame either directly or using existing inserts. Attach with the bolts and then replace the grille cover.


