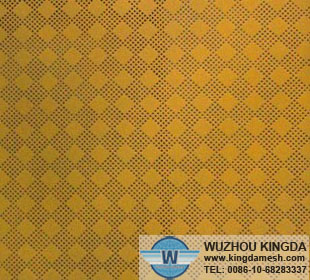
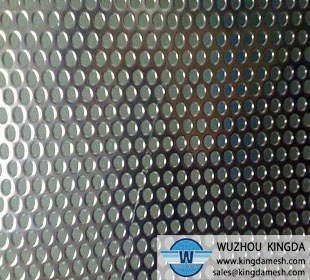
DIY Perforated Metal Wall Panels
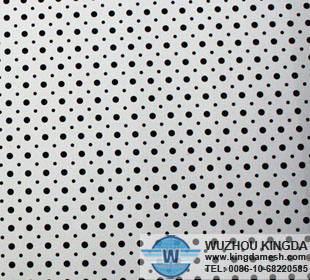
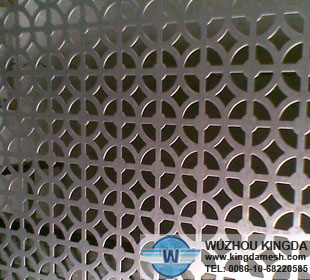
A DIY perforated metal wall panel adds just the right amount of eye appeal when you need to screen part of a room or spice up a lackluster wall. You can use a simple punch tool if you have time to spare, or use a plasma torch if you want faster results. Stick to the strictest definition of perforation -- a hole -- and use punched-tin techniques, or stencil an elaborate group of shapes that you cut with a torch.
Instructions
Punched-tin Panels
1. Sketch several original designs on butcher paper until you like the results. Center the design on the panel and secure it at all four corners with painter's tape.
2. Place the punch tool on the design, at a point as close to the center as possible. Give the punch a light tap with a ball-peen hammer, hard enough to mark the sheet steel without punching through it.
3. Move the punch to the next point on the design and repeat, until you have tapped all the points needed to create the design. Remove the tape and the butcher paper.
4. Place the punch on the closest point to the center of the design. Give the punch a firm-enough tap to drive it all the way through the steel sheet.
5. Slide each punched panel into a ready-made steel frame. Secure the framed perforated metal panels to the wall, using your choice of fasteners.
Welded Panels
6. Use a soapstone marker to sketch your chosen design on 18- to 20-gauge sheet steel panels.
7. Don wrap-around welder's glasses with a minimum number 5 shade, a face shield, ear protection, a NIOSH-approved respirator, welding gloves and full leathers.
8. Pull the trigger to ignite the plasma torch. Hold the torch head above the steel and follow the lines of your chosen design.
9. Turn the panel over and run a right angle grinder with an 80-grit mop disk over the entire panel to remove any slag.
10. Slide the perforated metal panel into a ready-made steel frame.
- Prev : Remove a Security Screen Door
- Next:No Article