How to Attach Hardware Cloth
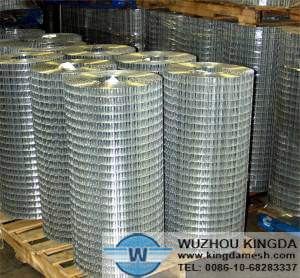
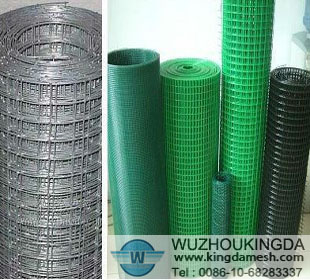
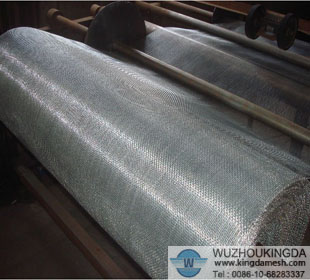
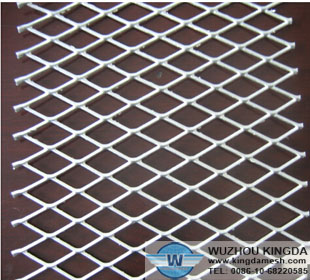
Attaching the Hardware Cloth to the installation surface requires only basic tools. The name Hardware Cloth is a bit of a misnomer, since it is actually made of metal. The Hardware Cloth comes in a roll and is made of thin-gauge wire that is welded together to form a mesh with tiny square openings throughout. It is used for a variety of purposes, including constructing animal cages and closing up openings in buildings, among others.
Instructions
1
Measure the location where you are installing the Hardware Cloth to determine the proper length and width. Unroll the Hardware Cloth on the ground and use a black marker to draw the dimensions on it.
2
Cut the Hardware Cloth out using a pair of tin snips and following the marker lines.
3
Hold the Hardware Cloth in the installation location and place a U-shaped hardware tack at the top edge so that it straddles one of the vertical wires. Tap the tack with a hammer until it is flush with the installation surface. Repeat the process to insert tacks every 4 to 5 inches along the top of the hardware cloth.
4
Continue installing tacks along all edges of the Hardware Cloth to secure it to the surface.
5
If the installation surface is made of concrete or masonry, drill 1/2-inch deep holes into the surface using a drill with a masonry bit. Then hold the Hardware Cloth in place and secure it with 1/4-inch masonry screws inserted with a screwdriver. Make sure the heads of the screws press down tightly on the mesh wires instead of in the square holes.