How to Connect a Chain Link Fence
How to Connect a Chain Link Fence
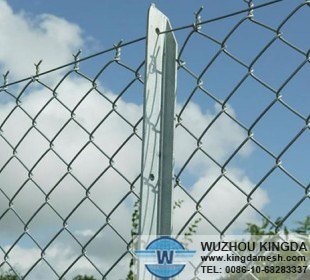
Chain link fencing can provide a secure boundary around property. Installing this fence involves setting the posts, adding the top rail and attaching the chain link to the frame. When attaching the chain link to the posts, it's important to pull the fencing tight so there are not waves or gaps in the completed fence. There are many specialized tools for this purpose, but a simple ratchet-type tie down strap can do the job while you secure the fence.
Instructions
1 Unroll the fencing along the row of installed posts. Pull the chain link out on the ground and inspect it for damage. Remove and replace any damaged sections with an undamaged link from the end of the roll.
2 Hold the fencing up to the first post and connect it with hook ties. Wrap a hook tie around the post and the top loop of the chain link. Twist one end of the hook tie around one side of the loop of chain link, pull the tie around the post and twist the other end of the tie around the opposite side of the same loop of chain link. Twist the tie tight with pliers and snip off the excess on the ends of the tie to prevent injury. Attach the same loop of chain link to the top rail with another hook tie. Place a hook tie around the chain link and the first line post every 12 inches down the post.
3 Hold the chain link upright. Hook the ratchet strap to the chain link and tie the other end of the strap to the fourth post in the series. Ratchet the strap to pull the fencing tight. Attach hook ties to the second, third and fourth posts every 12 inches up each post. Attach a hook tie to the top rail every 24 inches along the first four sections of the fence.
4 Release the ratchet strap at both ends. Move the strap five posts away and connect the next four sections of fencing with hook ties. Continue connecting the chain link to the line and top posts until the fence is complete.