Install Pegboard Storage
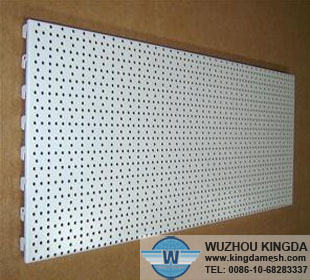
Pegboard provides an ideal storage solution for lots of areas in the home. In the workshop, garage or even a scrapbooking room--having a pegboard mounted on the wall provides storage and organization while keeping your tools handy. Pegboard is also versatile and you can adapt or rearrange your storage wall any time your requirements change or grow. Mounting pegboard isn't a difficult job, but the following tricks should help make your finished project easier to use.
Instructions
1
Consider the weight of the tools or utensils you want to hang and buy the appropriate thickness of pegboard, (it's available in 1/8-inch or ¼-inch thickness, and the thicker board is obviously stronger).
2
Cut your pegboard to the size you need using a power saw with a small toothed or plywood blade (20 teeth per inch). A blade with larger teeth will likely chip the pegboard and make uneven, unattractive cuts.
3
Remember to leave a small gap behind the pegboard; you can't mount it directly onto the wall. Use your stud finder to find studs behind the wall and mark their locations, then, using your level, draw horizontal lines to mark where you want to install the 1-by-2 inch that will actually hold your pegboard. Depending on the size of your pegboard storage board, you may also want to install some vertical 1-by-2 inch on the studs to provide more strength and stability under the pegboard.
4
Install the 1-by-2 inch boards directly onto the wall using wood screws and your markings as a guide.
5
Hold the pegboard up to the installed 1-by-2 inch framing and mark where you will install screws to hold the pegboard onto the frame, then drill small pilot holes in the pegboard for the screws.
6
Mount the pegboard onto the frame and install the pegboard hooks.


