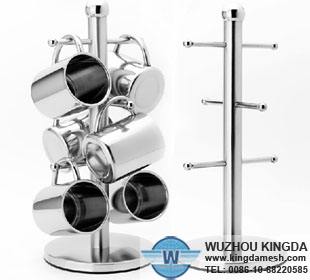
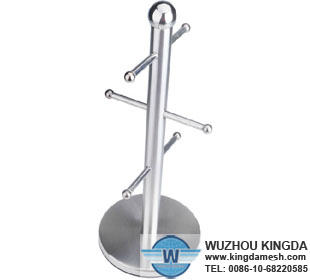
Make a Mug Tree
A mug tree can help you move mugs and cups from an overcrowded cupboard to an unused part of your counter top. A simple mug tree is an easy woodworking project. You can use any type of wood that suits the decor of your kitchen or use an inexpensive wood like pine and finish the tree using paint, stain or any finish suitable to your decor.
Instructions
1
Draw a cross with a pencil on your square base from the top right corner to the bottom left corner and from the top left corner to the bottom right corner. The intersection of these two lines is the center point on your mug tree. Your base can be between 1/2 inch thick and 1 inch thick.
2
Make an indentation with a hammer and nail where the two lines meet.
3
With either a drill press or your drill in a hand press, drill a straight 3/16-inch hole all the way through the base.
4
Change the drill bit and drill a hole halfway through the base the same size as the main upright of your mug tree. A good size for an upright is between 3/4 and 1 inch in diameter. If yours is 1 inch in diameter, use a 1-inch drill bit, but wiggle the bit or base a bit to ensure that the hole is slightly larger to make slipping the main support in place easier.
5
Cut the main support to length. For a 6-inch by 6-inch base, 12 inches is about the maximum height for the main support. If you need a taller tree, increase the size of the base to reduce the risk of the mug tree tipping over under the weight of the mugs.
6
Make three pencil marks 1/3 of the circumference of the tree at nine inches above the tree base. Make marks about 1/2 inch from the top of the tree above these marks. These will be for the cup holders. By marking them at 1/3 instead of 1/4, you are leaving more room for larger mugs.
7
Adjust your drill press to drill at a 15 degree angle. Drill the holes in the main support at an upward angle of 15 degrees to prevent the mugs from sliding off. Use a drill bit the same size as your dowel and wiggle the support or the bit a touch to enlarge the holes to make it easier to slip the pegs in place.
8
Cut your cup pegs 2.5 inches long from 1/4 inch dowel material.
9
Coat the ends of your pegs in wood glue and slip them into the main centerpiece. Use enough glue so that you see it ooze out of the hole when the peg is inserted fully. Wipe the excess away.
10
Glue the main support into the base once the pegs have set to the point that the glue is translucent.
11
Add a screw through the hole in the bottom of the base to secure the main support. Use a screw with a large head or use a washer to prevent the screw from pulling through the hole.
12
Finish the tree mug's wood as desired.
13
Once painted or stained, if desired, add a rubber foot to each corner of your tree.


