Making a Baking Rack
Making a Baking Rack
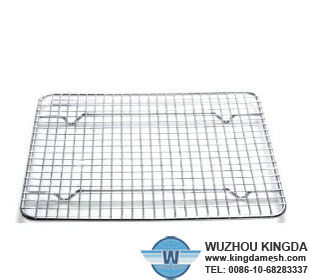
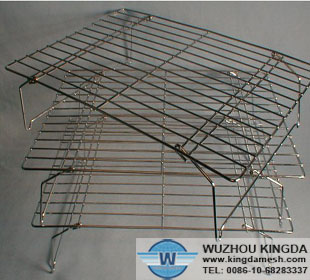
A baking rack consists of a metal grate with intersecting bars. Baking food on top of one allows for the hot air to cook all sides, preventing burning and sogginess on the bottom of foods. These baking racks allow oven "fried" foods to get crispy on their entire surface, as the food would in a deep fryer. When removed from the oven, a baking rack becomes a cooling spot for cookies and cake pans. If you lack a professional baking rack, you can make your own at home with items already in your kitchen.
Instructions
1 Thoroughly wash the grill grates or oven racks with soap and water, scrubbing away any grease or food residue.
2 Stack the grill grates or oven racks one on top of the other so that the direction of their grates are perpendicular to each other.
3 Tie together the grates by attaching several twist ties to the sides of the grates. Attach at least two twist ties per side for stability.
4 Place the tied grates across the top of a deep baking pan so the rack remains suspended.
5 Place the baking pan with the grates and food on top into the oven and bake as directed by to use a baking rack.
6 Lay the baking rack across your sink or a deep baking pan and set food or cake pans on top to use as a cooling rack.


